Set up the mobile app
The screenshots in these mobile guides show the current Flutter interface with SessionTalk branding and example accounts. Your provider may use different colours, enable different features, or supply your account automatically. Android and iPhone system permission and incoming-call screens can also differ.
SessionTalk Softphone
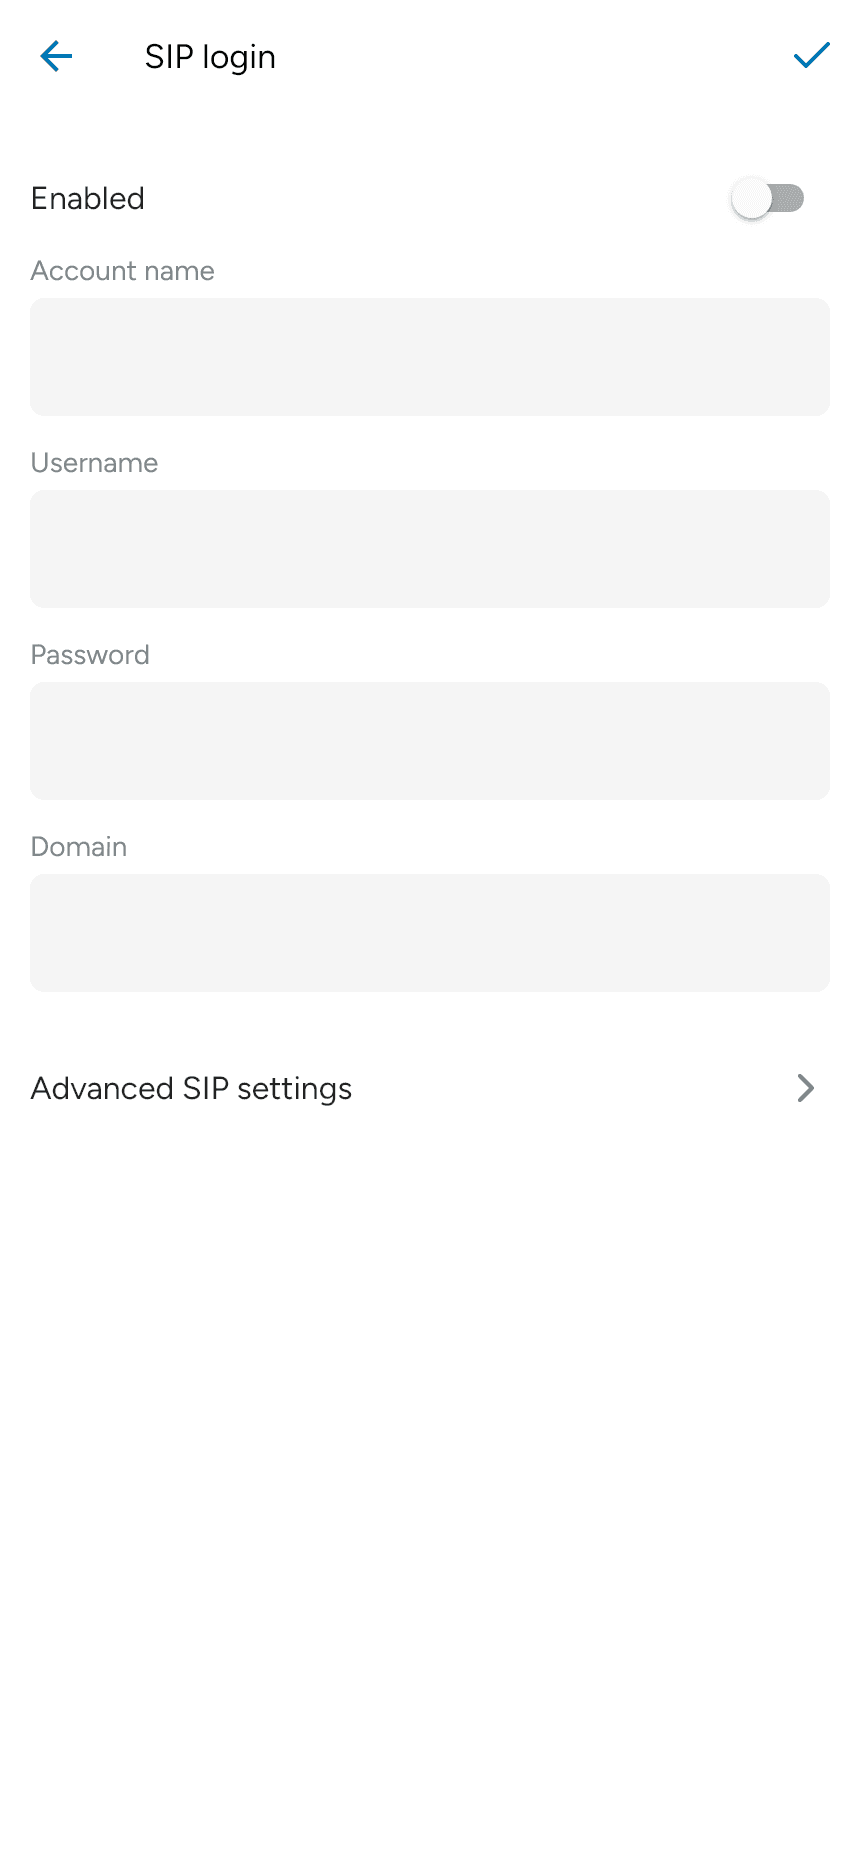
Have your SIP username, password and server domain ready. These come from your phone service provider; they are not your app-store login.
Enter the details on the SIP login screen. Give the account a name, such as Office, and use Advanced SIP settings if your provider supplies an authentication username, transport or proxy. Enable the account when you are ready to use it and tap the checkmark to save.
Provider-provisioned apps
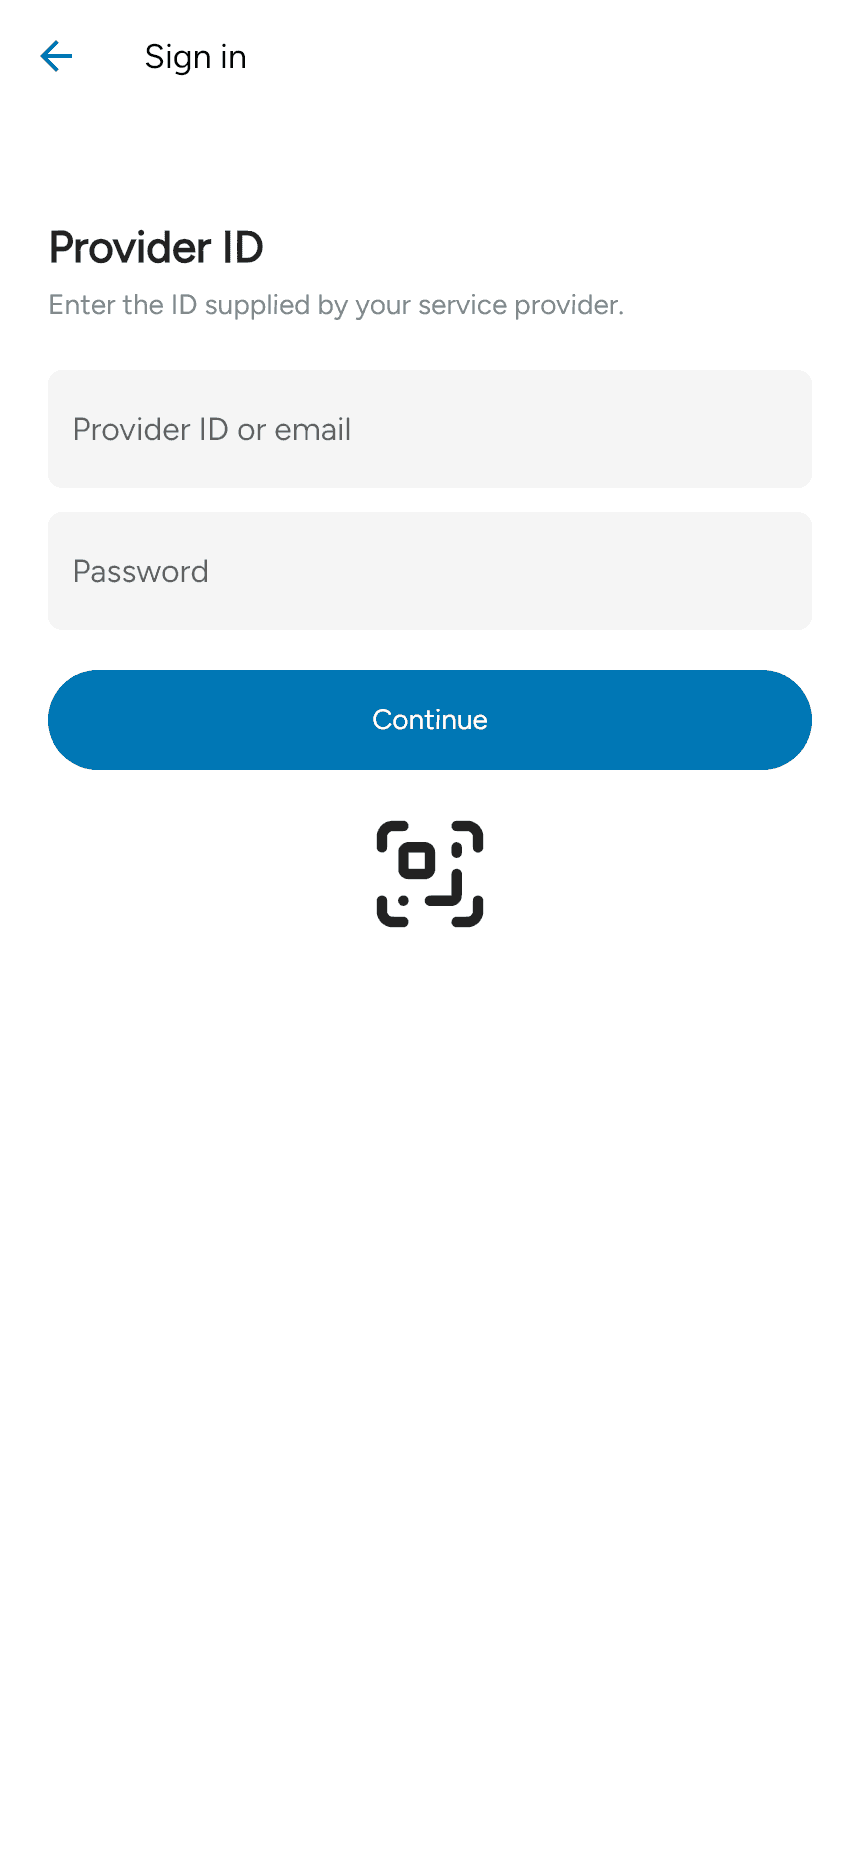
If your app starts with Sign in, enter the provider ID or email and any password supplied by your provider, then tap Continue. You can also use the QR code option if your provider gave you a setup code. Follow the remaining sign-in prompts; the fields depend on the provider’s configuration.
Check the account and make a call
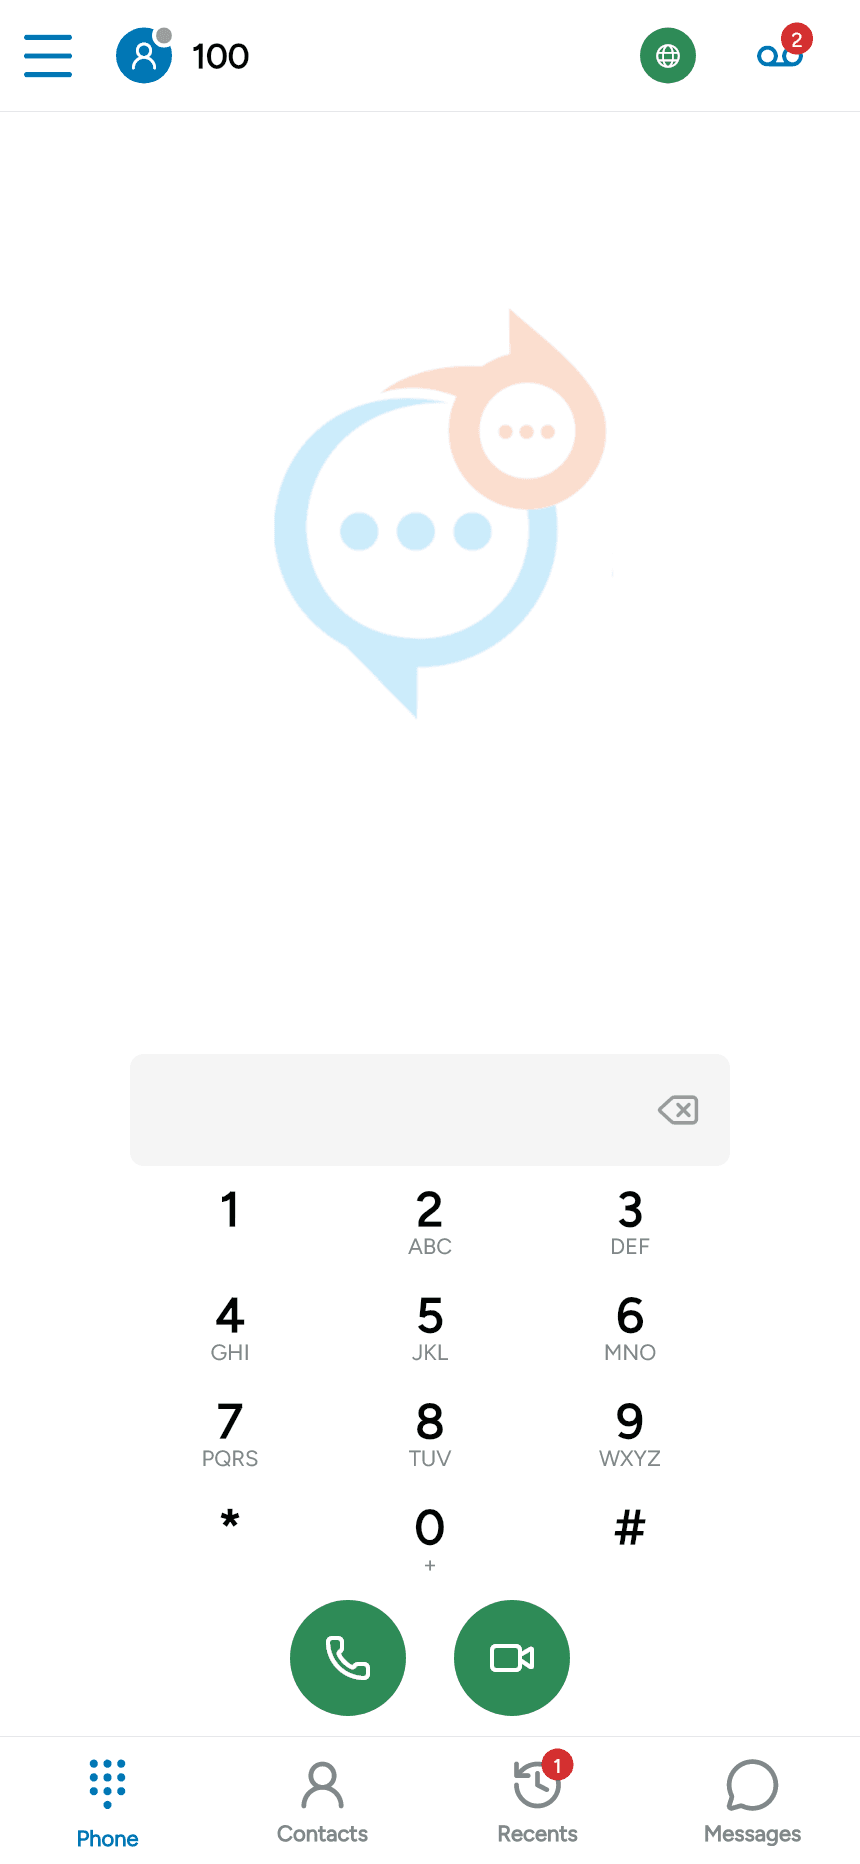
Open the menu at the top left, then Settings > Accounts. Your account’s registration status appears below its name. Once registered, return to Phone, enter a number and tap the green phone button.

Grant microphone access when prompted. See Permissions for the other permissions and Adding an account for account settings.